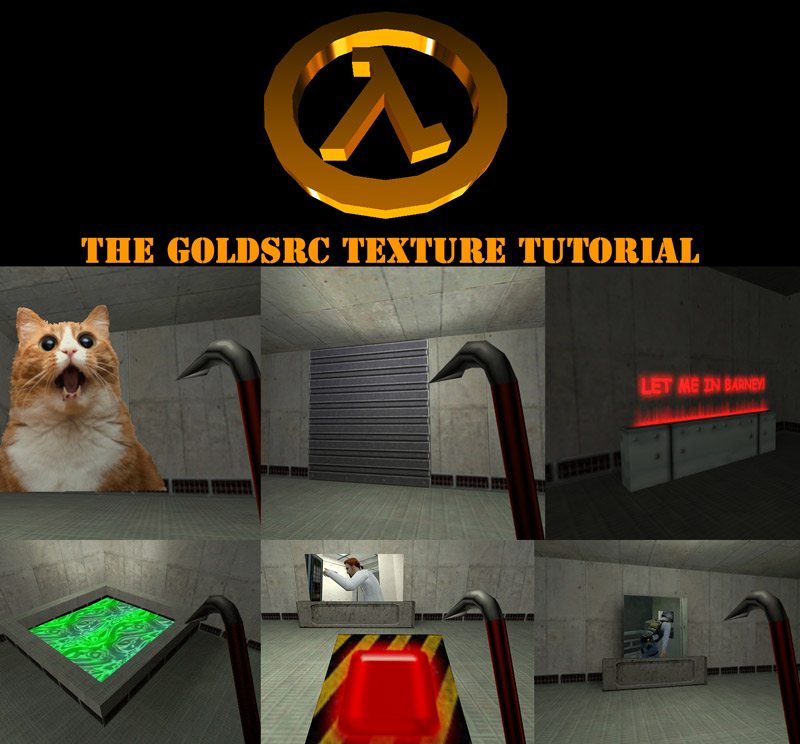
GoldSrc Map Texture Tutorial


INTRODUCTION
1) GoldSrc textures must be BMP format with an 8-bit depth (256 colors index/palette) and dimensions must be in multiples of 16 though it is preferable to have them in powers of 2 because they are generally easier to work with. An example of power of 2 is: 64X64, 128X128, 256X256, and a maximum of 512X512. Keep in mind there is no texture compression so your texture filesizes can build up quickly; because of this I also stress to use 512X512 very sparingly if you are making maps for multiplayer server download. If you are making a stand-alone mod then ignore this warning.
2) Textures must be stored in WAD files which are packages that hold textures. Wad files are created by a program called "Wally" which is a toolkit for Half-Life & Quake. These WAD files can also be compiled into your map BSP for custom downloadable maps by using a CSG command.
3) There are several types of textures that are designated by special characters. Normal textures need no special characters. The special texture characters are as follows:
{ transparent
! water
+ (number 0 to 9) animated
+A toggled/animate
scroll (for use on func_conveyor only)
- (number 0 to 9) Random tiling [I will not be covering random tiling since it is only supported in software mode]
Texture names cannot be any longer than 15 characters and spaces are NOT allowed.
4) Download Wally to get started.
While this tutorial is written for 8-bit BMP creation in Photoshop, I have alternative methods shown within that use the program IRFANVIEW to convert & dither images from other paint programs to 8-bit BMP.
Another option is that Wally has as a built-in paint function to create 8bit textures. A tutorial on this exists here: this tutorial.
Lastly, I have included an example map & resources of textures created in this tutorial for you to examine: Download here.
Part1: Creating Basic Textures
Part2: Creating Masked Transparent Textures
Part3: Creating Additive Transparent Textures
Part4: Creating Animated Textures
Part5: Creating Toggled Textures
Part6: Creating Water Textures
Part7: Creating Scrolling Textures
Part8: Creating Skies
Part9: Creating Detail Textures
Part10: Batch Conversion
Return to Tutorials